Showing posts with label cooking with children. Show all posts

Wednesday, December 1, 2010

New Born Banana Bread

A few weeks back while I was in Toronto for the birth of my nephew (a.k.a.: The cutest little munchkin on the planet!)  there were some bananas on the counter that clearly no one was going to get to in time so I decided to make a Banana Bread.  I didn't have my regular recipe handy so I made it a little different and actually thought it was so much better!  It's a super simple recipe so I wanted to share with you!  My sister and fam are chocoholics so I did put chocolate chips in theirs but when I make it for Jon and I, I'll skip the chocolate chips and either make it plain or with frozen blueberries.  So yummy for breakfast with the blue berries in it!

Ingredients:
1) 3 ripe or over ripe bananas, smashed
2) 1/3 cup melted butter
3) 1 cup sugar (use 3/4 cup only if using chocolate chips too)
4) 1 egg, beaten
5) 1 teaspoon vanilla extract
6) 1 teaspoon baking soda
7) Pinch of salt
8) 1 1/2 cups of all-purpose flour
9) Optional : Blueberries or chocolate chips - 1 cup of either.


Directions:
It's your choice on if to use a mixer or not.  At home I do throw it in my Kitchenaid but in TO I did it by hand and they turn out pretty much the same.  Preheat the oven to 350°F.   Mix butter into the mashed bananas in a large mixing bowl.  Mix in the sugar, egg, and vanilla. Sprinkle the baking soda and salt over the mixture and mix in. Add the flour last, mix.  Fold in blueberries or chocolate chips gently.  Pour mixture into a buttered 4x8 inch loaf pan. Bake for 1 hour. Cool. Remove from pan and slice to serve.

Yummo!  Enjoy!

Tuesday, September 14, 2010

Toastie Pies - a La Hey, Lady Grey

Friends, and blog followers have been asking me how the organic/ healthy eating initiative I started a little while back is going.  I think this blog post is a good indication of where I'm at....  It's going... in that I'm conscious of it.  And it's definitely improved from where it was in that I do only use my Home Grown Box of produce, or on occasion store bought organic produce.  I have cut down on refined sugar, but have not cut out.

All in all, I'm happy with the small strides I've made, and am definitely eating healthier now than I was before I started the healthy eating kick.  And as of today, I have gone 6 weeks with no fast food.  Those who know me well know that this is a HUGE feat in and of itself.

The other pitfall I'm experiencing is that in recent weeks I've become quite a blog junkie, and have been especially following foodie blogs.  One of my faves that I've posted about before is Hey Lady Grey.  Recently she blogged about Toastie Pies and they looked way too good (and easy) for me to pass them up. 


 Picture from Hey Lady Grey


Here is the recipe.

Ingredients
1 apple
2 slices bread (I used raisin bread)

Cinnamon-Sugar Spread
2 Tbs butter, room temperature
2 Tbs sugar
1 tsp ground cinnamon

Directions
1. Preheat oven to 350 degrees F.
2. Mix cinnamon & sugar in a small bowl, then mix with butter. This will make a little more spread than you need, but it keeps in the fridge and makes a great breakfast spread for toast.
3. Peel and slice apple into 1/4 inch thick slices. Place in a microwave safe bowl and microwave on high for 1 min 30 seconds. Then set aside.
4. Cut crusts off bread. Then using your fingers (or a rolling pin) smush/squish the bread down to a pancake. Butter one side of each bread with plain butter. On the other side generously & evenly spread the cinnamon-sugar-butter mixture. 
5. Push the bread into muffin tins, butter side down (cinnamon side up). Fill centres with apple slices, then fold corners of bread over top to seal the pie. Don't be afraid to really squish it down so that the top sticks. Sprinkle top with a bit of granulated sugar.
6. Bake at 350 for 15 minutes, or until tops of toastie-pies are golden.
7. Remove from muffin tins and serve warm with ice cream. Enjoy!

Thursday, July 22, 2010

Caffeinated Cool

This summer seems to be bringing a crazy heat wave every where from Jersey, Toronto, to Halifax and every place in between!  Jon and I have really been trying to eat healthier especially focusing on eating local organic and cutting out... cutting down refined sugars.  (Well, trying anyways...)  Neither of us have much of a sweet tooth at all, but it really is crazy the places you'll find refined sugar!  On top of which, with all this heat we've been finding ourselves on mid-night ice cream runs much more than we  our waist lines would like!

Thankfully my sister turned me on to this amazing foodie blog that I am loving!  This post about making home made Frappuccinos from coffee ice cubes got me thinking...  Jon and I love coffee, and I have always had a strong nostalgia for homemade freezer icey molds being that I was practically raised on these in the summers, growing up in Jersey as a child.

 Seriously... even just the empty cups make me think of the care free summers as a kid.  Love it....  


So I made up about 4 cups of coffee, mixed in about 1 cup of milk, a bit of natural brown sugar, roughly 4 tbsp into the whole batch.  Blended with a milk frother.  (I think it would have been the same consistency if I mixed it with a spoon...)  

Poured into the cups, and let set a few hours in the freezer...  The plan was to let set overnight, but we couldn't resist!  They were delicious!  A perfect summer treat, not to mention our waist lines love it as much as we do, and it's super cheap and easy!    


Enjoy!  Stay cool!

Additional Note:  After posting this a friend of mine read it and told me she does something similar but before pouring the coffee into the cups, pours a bit of Hershey's syrup into the tip of each cup so it's a Mocha pop.  Must try this for our next batch! 


Wednesday, April 21, 2010

Good Morning, Sunshine!

One of the main health initiatives that we've been trying to focus on is cutting down on refined sugar, and trying to reduce our sugars overall.  I was shocked to learn that my beloved Nature Valley Granola Bars (and essentially all granola bars in the grocery store) are just glorified candy bars!!  I was literally angry when I was looking at the label the other night!  I really do not understand how they're able to market that junk as healthy!

This in combination with the fact that I'm still not eating much of a breakfast in the morning, I took on making my own granola bars!  I figure this way I will know what's in them, and they're the perfect grab and go breakfast food.  This morning I tossed a granola bar, an apple and an orange in my purse and was off!

Here are the goods!


One cup whole wheat flour, 2 cups rolled oats

  
1/2 Cup Powdered Skim Milk


This is the money shot... I *heart* honey!


My new best friend, the flax seed

Variety mix of pumpkin seeds, almonds, and raisins 

The earth's candy...  Dried red currents, apricot, pineapple papaya and raisins

Chopped and saved 1/2 for the next batch. 


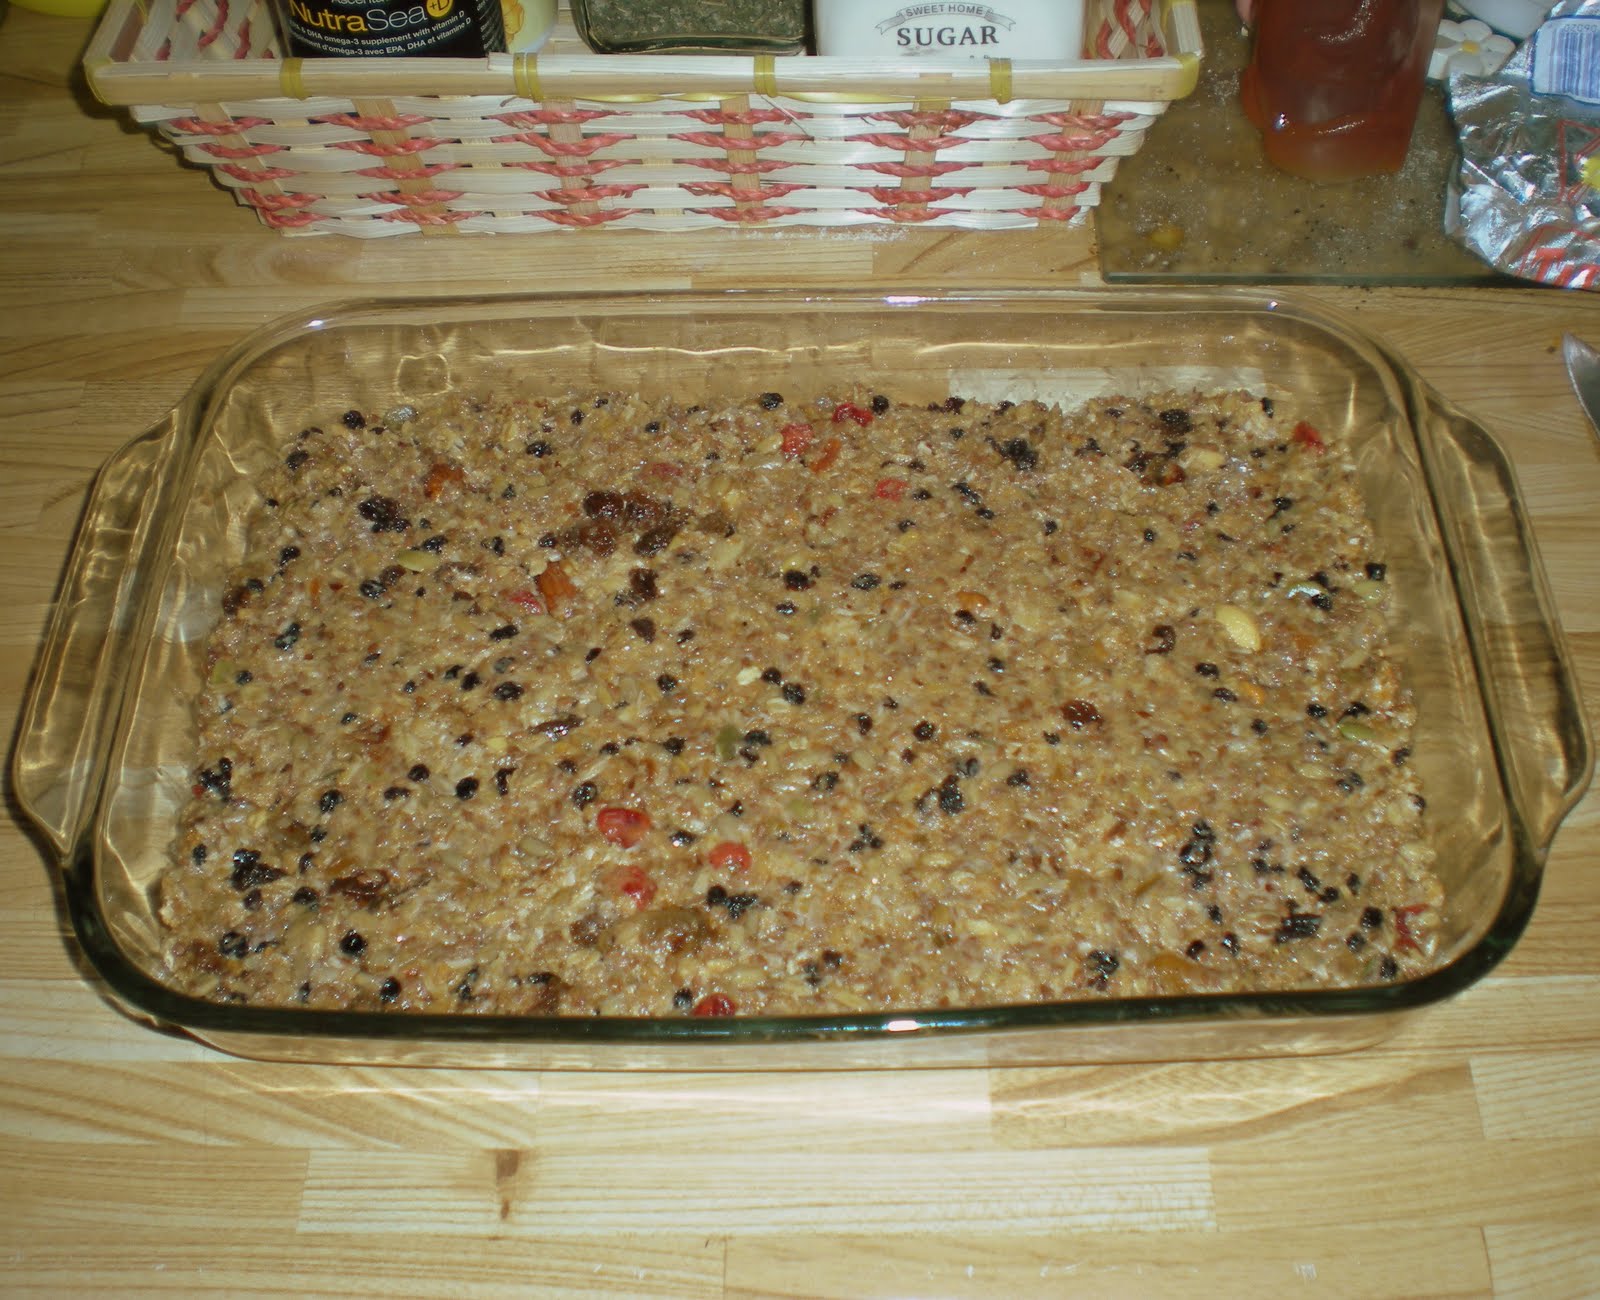
All the yummies mixed up and ready to go!


Just ready to go in the over!!  They already smelled SOO good!  


The good stuff!!  There are no pictures of me dipping the bars cause I was WAY too wrapped up in how heavenly it was!!  :) 


Voila!!  Easy Peasy!!  This batch made 16 bars, which is perfect to last Jon and I through 1 week... giving us each one bar a day with a little wiggle room!  :)  

And here's the recipe!  The cross outs are what the recipe called for, and I substituted for, or eliminated.


Ingredients
2 Cups rolled oats
1 cup whole wheat flour
1/2 cup dry skim milk powder
6 Tbsp sugar    2tsp honey
1 cup apple juice
1/4 cup flax seed
1/2 cup dates snipped in small pieces
1/2 cup chopped dried pineapple, apricot etc.
1/2 tsp cinnamon  1 Tbsp cinnamon
1/4 cup shelled pumpkin or sunflower seeds
pinch of salt
1/2 cup oil  (I used sunflower seed oil, but evoo would be fine too if that's all you have handy)
1/2 cup semisweet chocolate chips

Directions
Preheat over to 350 F.  Grease glass baking dish.

Combine all ingredients except chocolate.  Pat into the pan with moist hands.  Bake for 30 minutes until lightly browned around the edges.  Cut while still hot, but let cool completely before taking out of the pan.

Melt the chocolate in the microwave on high for 2 minutes, stopping every 30 seconds to stir the chocolate.


I've wrapped mine individually with cellophane, and put them in a zip lock in the fridge so they're super easy to grab and go!  No fuss!!  No muss!!  Enjoy!  

Tuesday, December 9, 2008

Stocking Stuffer Yummies!!

So this year, since it will be our first Christmas as husband and wife I really want to go over the top and add all the special touches to the holidays. I was looking for some fun and unique ideas for stocking stuffers! We like to try to keep stocking stuffers cheap, but sentimental and thoughtful. I ofcourse will be making my signature peanut butter homemade fudge, and I may possibly try my hand at some mocha almond biscotti again. (I burnt my last batch, and it was less mocha and more mush-a-mush.) A good friend of mine also recommended this blog to me, http://bakerella.blogspot.com/2008/12/its-beginning-to-look-lot-like.html. I plan on making these raindeer cake pops, and cannot wait to see how they turn out!! I am also going to try the recipe for red velvet cake balls covered in Chocolate!! I am sure this will be a huge hit for the inlaws, and I'll have to save a few for the family back home! :)